Installing marble and tiles in kitchens and bathrooms can transform the look of these spaces, adding elegance and durability. However, achieving a flawless installation is no easy task, and mistakes can be costly, both in time and money. Whether you’re new to marble or tile installation, or simply looking to improve your technique, this article offers a step-by-step guide and helps you avoid common mistakes that could ruin your project.
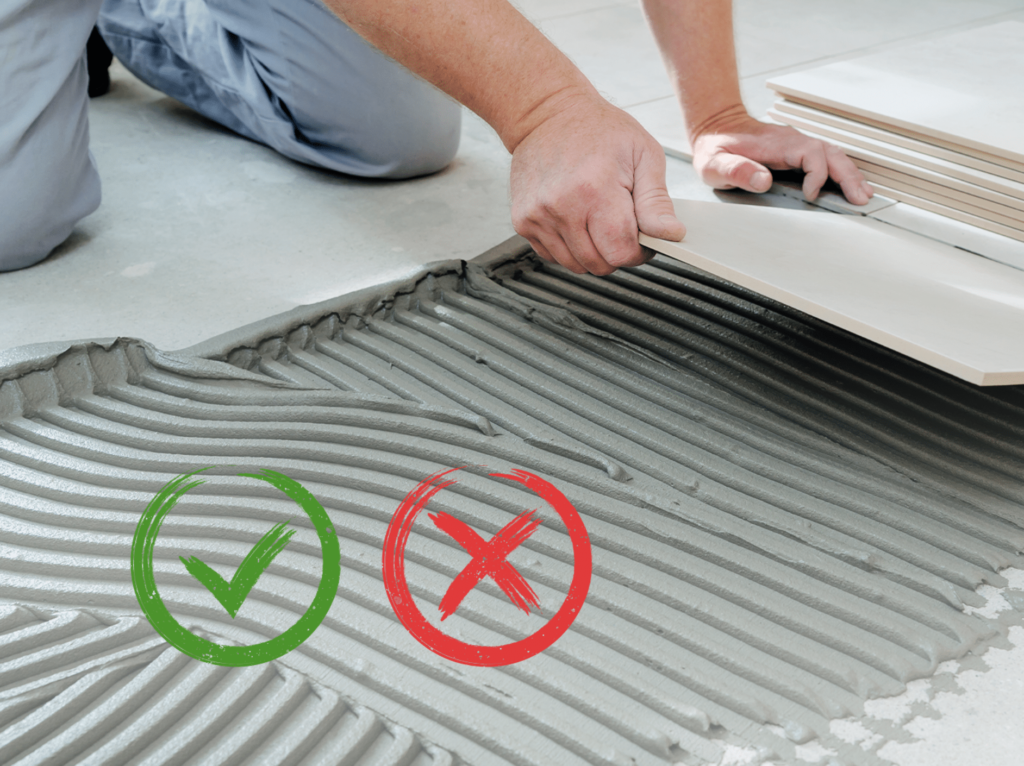
From selecting materials to the installation and sealing process, pay attention to every detail to ensure a durable and professional final result.
Step 1: Proper Surface Preparation
One of the most common mistakes novice installers make is failing to properly prepare the surface where the marble or tiles will be placed. This step is crucial to ensure that the pieces adhere well and don’t come loose over time.
What Should You Do?
Clean and level the surface: Make sure the area is completely clean and level. Remove any dirt, dust, or debris, as this can affect adhesion.
Check for moisture: If the surface is damp, it could compromise the adhesive and damage the marble or tiles. Use a moisture meter if necessary.
Mistake to Avoid:
Installing on uneven surfaces: Placing marble or tiles on uneven surfaces can cause the pieces to crack or come loose, leading to costly repairs down the road.
Step 2: Choosing the Right Materials
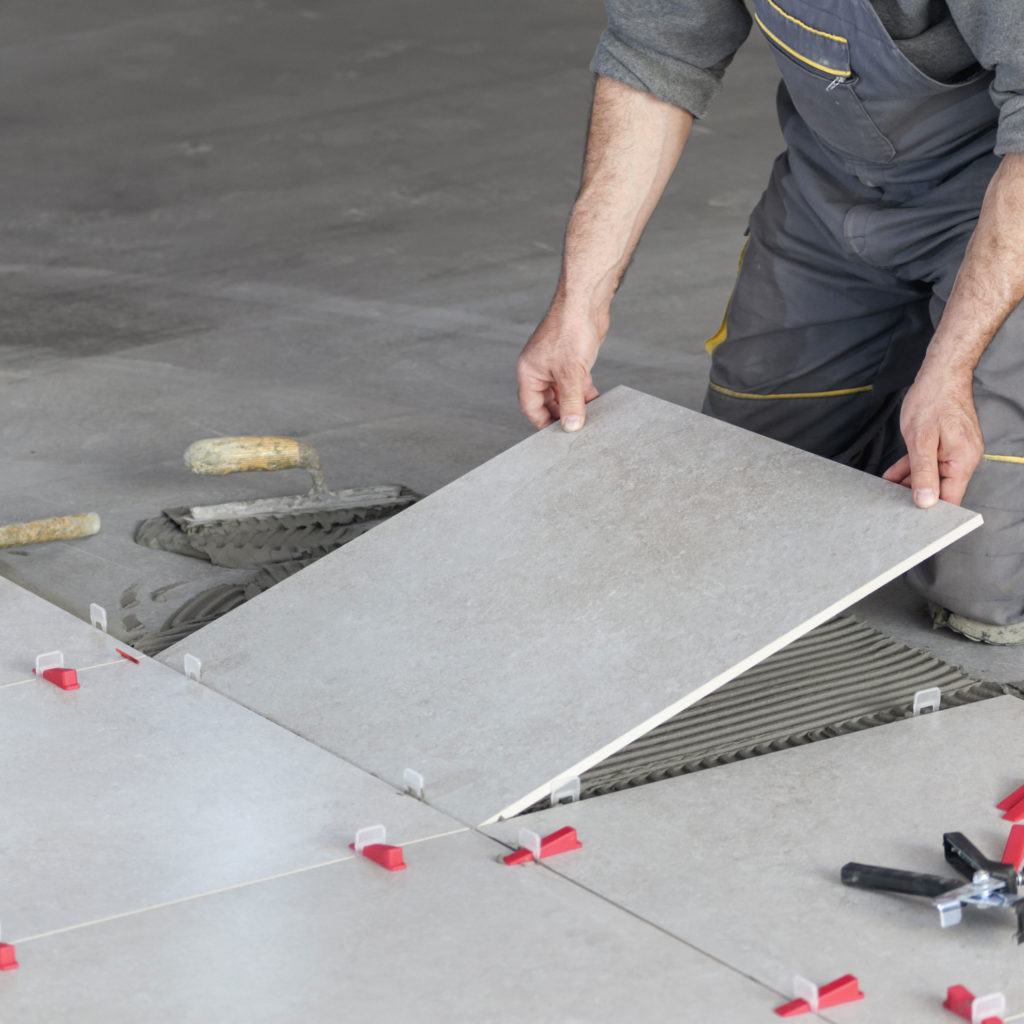
The type of marble or tiles you choose can significantly impact the durability and appearance of the installation. Not all marbles are suitable for all areas, and a mistake in selection can ruin the project.
What Should You Do?
Select marble suitable for kitchens and bathrooms: Marble is porous, making it more susceptible to stains and water damage. Make sure to use denser, more durable varieties in areas like kitchens and bathrooms where water and oils are common.
Choose the correct adhesive: Different types of marble and tiles require specific adhesives. Be sure to use the right one to ensure proper bonding.
Mistake to Avoid:
Choosing overly porous marble for wet areas: Installing highly porous marble in areas like showers or sinks can result in permanent stains and irreversible damage. Always use appropriate sealers to protect the stone.
Step 3: Measuring Correctly and Planning the Layout
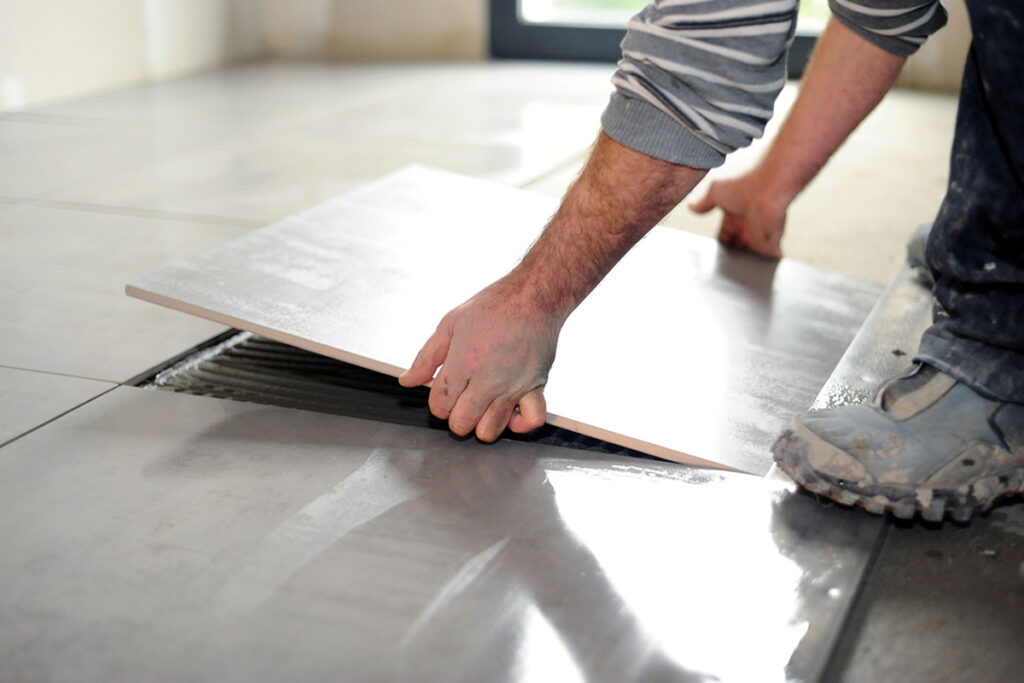
One of the most critical steps in the installation process is accurately measuring the area and planning the layout of the pieces. Failure to do this correctly can lead to unnecessary cuts, misaligned marble, or wasted material.
What Should You Do?
Take exact measurements: Measure the areas to be covered multiple times to ensure you have the correct dimensions. This will help you avoid mistakes when cutting.
Dry fit the layout: Place the tiles or marble pieces dry on the surface to see how the final pattern will look and ensure the joints are even.
Mistake to Avoid:
Cutting too early: Cutting marble or tiles without double-checking measurements can result in wasted material and adjustments that affect the symmetry of the final design.
Step 4: Adhesive Application
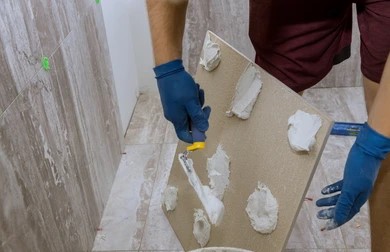
The next step is applying the adhesive. Although it seems simple, there are several common mistakes that can compromise the entire installation.
What Should You Do?
Apply an even layer of adhesive: Use a notched trowel to spread the adhesive evenly across the surface. Make sure all areas have enough adhesive to prevent the pieces from shifting or cracking
Work in sections: To prevent the adhesive from drying before placing the tiles or marble, work in small sections.
Mistake to Avoid:
Using too much or too little adhesive: Applying too much adhesive can cause it to seep between the joints and stain the marble. On the other hand, using too little will cause the tiles to not adhere properly and may move or detach.
Step 5: Placing and Aligning the Tiles
Placing and aligning the marble or tiles correctly is one of the most delicate parts of the process. This is where installation errors become visible and can ruin the appearance of the project.
What Should You Do?
Use tile spacers: These small tools help you maintain even spacing between each tile or marble piece, which is essential for a clean finish.
Check the leveling constantly: Ensure that all the tiles are level with each other to avoid some pieces sticking out more than others, which would affect both the aesthetics and safety of the area.
Mistake to Avoid:
Not aligning the pieces properly: If the tiles are not well aligned, the finish will look sloppy and affect the functionality of the space, as it could create tripping hazards or uneven areas.
Step 6: Sealing the Marble or Tiles
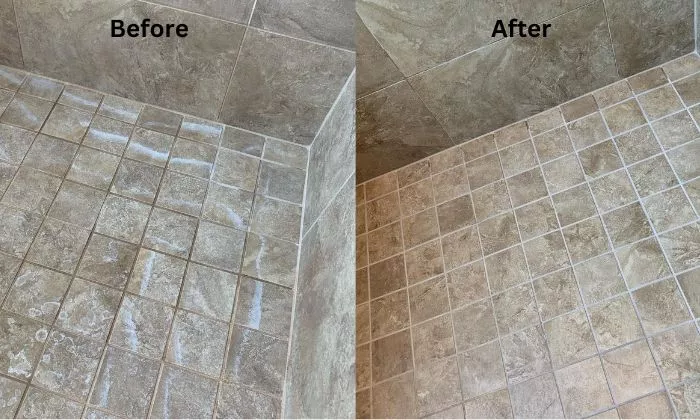
The final step, and one of the most important, is sealing the marble or tiles. This will protect the material from stains and moisture damage, especially in areas like kitchens and bathrooms.
What Should You Do?
Apply a high-quality sealer: Use a sealer specifically designed for marble or tiles, and follow the manufacturer’s instructions to ensure proper application
Re-seal periodically: Remember that sealing is not permanent. In high-use areas, you’ll need to repeat the process periodically to maintain protection
Mistake to Avoid:
Not sealing properly: If you don’t apply the sealer correctly or use a low-quality product, the marble will remain exposed to stains, ruining your investment in both materials and time.
Conclusion
Avoiding errors in marble and tile installation is key to ensuring a professional and durable result. The key is paying attention to every stage of the process, from surface preparation to final sealing. By following this step-by-step guide and avoiding common mistakes, you can transform any kitchen or bathroom into an elegant and functional space.
